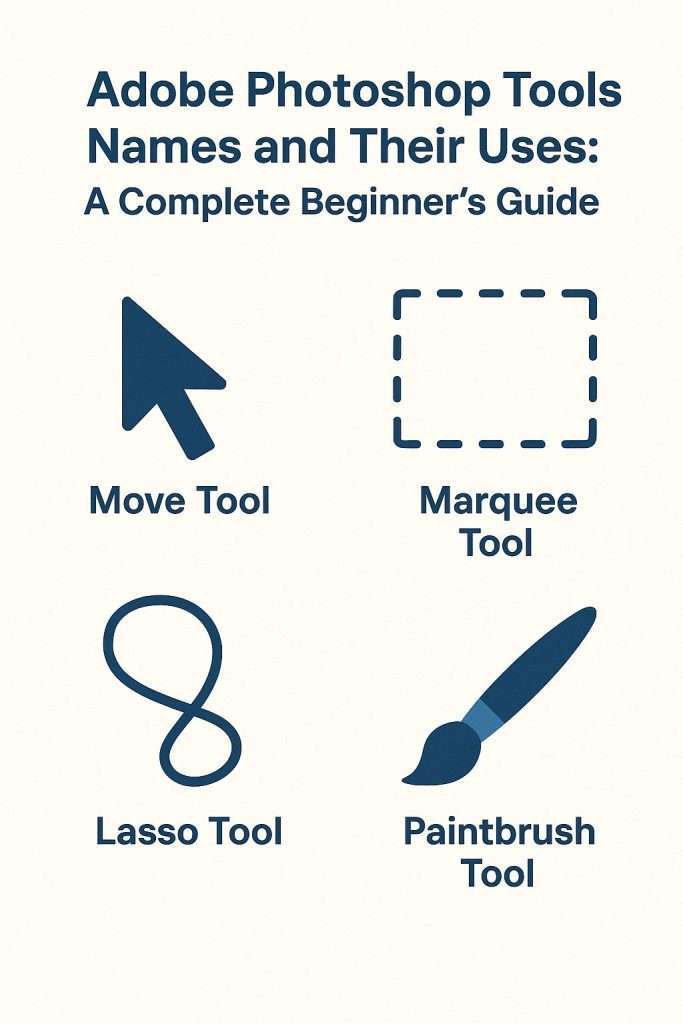
Adobe Photoshop Tools Name and Their Uses: A Complete Beginner’s Guide
Adobe Photoshop has long been the preferred program for both novices and experts in photo editing. Photoshop has many tools that make image editing, retouching, and design much simpler, regardless of your background as a photographer, graphic designer, or digital artist.
The problem is that when they first open Photoshop, a lot of novices feel overwhelmed. “What do all these Photoshop tools mean, and how should I use them?” is a common question given the abundance of icons and hidden features.
This blog will explain it for you, so don’t worry. We’ll go over the names, uses, and real-world examples of Adobe Photoshop tools so you can confidently begin producing eye-catching designs and edits.
Why Learn Photoshop Tools First?
It’s critical to comprehend the significance of understanding particular tools before delving into them:
- Saves time: You’ll know exactly which tool to use rather than clicking at random.
- Enhances accuracy: Every tool serves a distinct purpose, guaranteeing superior outcomes.
- Increases creativity: You’ll have more leeway to try new things the more tools you become proficient with.
- Professional advantage: Clients and employers frequently anticipate that you know the fundamentals of Photoshop.
Let’s now examine the most essential Adobe Photoshop tools and their applications.
1. Move Tool (V)
Function: Moves selected layers, images, or objects.
Use Case: If you import multiple images into one project, you can rearrange them easily with the Move Tool. Think of it like picking up a photo on your desk and shifting it around.
2. Marquee Tools (M)
Types: Rectangular, Elliptical, Single Row, and Single Column.
Function: Allows you to make rectangular or circular selections.
Use Case: Great for cropping or highlighting specific portions of an image, like cutting out a circular logo from a background.
3. Lasso Tools (L)
Types: Regular Lasso, Polygonal Lasso, Magnetic Lasso.
Function: Helps you make freehand, straight-edged, or edge-detecting selections.
Use Case: Perfect for cutting out irregular shapes, such as selecting around a person’s hair.
4. Quick Selection Tool (W)
Function: Chooses regions based on colour and texture and automatically detects edges.
Use Case: If you want to remove a background quickly, this is your best friend. Drag the subject over, and Photoshop will take care of the rest.
5. Magic Wand Tool (W)
Function: This tool chooses regions with related hues.
Use Case: Helpful when you want to quickly remove a solid background or swap out a plain sky.
6. Crop Tool (C)
Function: Cuts and resizes images.
Use Case: Essential for framing photos correctly for Instagram, posters, or any project with size requirements.
7. Eyedropper Tool (I)
Function: Picks up colour from any part of the canvas.
Use Case: When designing brand materials, you can use the Eyedropper to match colors perfectly from logos or brand elements.
8. Healing Brush Tools (J)
Types: Spot Healing Brush, Healing Brush, Patch Tool, Content-Aware Move.
Function: Repairs imperfections by blending them with surrounding pixels.
Use Case: Retouch skin, remove blemishes, or even erase unwanted objects from a photograph seamlessly.
9. Brush Tool (B)
Function: Paints strokes on your canvas.
Use Case: Ideal for digital painting, adding textures, or creative photo editing. You can even customize brush styles for more artistic effects.
10. Clone Stamp Tool (S)
Function: This function allows you to copy pixels from one area of an image to another.
Use Case: Often used to duplicate patterns, fix old photos, or remove distractions like power lines in landscape images.
11. History Brush Tool (Y)
Function: Paints back an earlier version of your image.
Use Case: Suppose you went overboard with edits—you can use the History Brush to restore certain areas without undoing the entire project.
12. Eraser Tool (E)
Function: Erases parts of a layer.
Use Case: Cleaning up unwanted marks or mistakes when working with multiple layers.
13. Gradient Tool (G)
Function: Blends multiple colours smoothly.
Use Case: This can be used in backgrounds, website banners, or to create effects similar to sunsets in images.
14. Blur, Sharpen, and Smudge Tools
Function: Adjust clarity and sharpness.
Use Case: Blur can soften skin, Sharpen enhances textures, and Smudge can blend colours for artistic effects.
15. Dodge, Burn, and Sponge Tools
Function: Adjust exposure and saturation.
- Dodge Tool: Lightens areas.
- Burn Tool: Darkens areas.
- Sponge Tool: Adjusts colour saturation.
- Use Case: Perfect for portrait photography—brighten the eyes, darken shadows, or enrich skin tones.
16. Pen Tool (P) Function:
Function: Produces accurate shapes and paths.
Use Case: Designers use it extensively to create smooth cutouts, vector shapes, and logos.
17. Text Tool (T)
Function: Adds text to your canvas using the Text Tool (T).
Use Case: This will be your go-to tool for adding fashionable typography to posters, flyers, and Instagram posts.
18. Path Selection Tools (A):
Function: This tool allows you to edit and choose paths or shapes that were made using the Pen Tool.
Use Case: Modifying custom shapes, vector art, or logos.
19. Shape Tools (U)
Types: Custom Shapes, Polygon, Line, Ellipse, and Rectangle.
Function: Draw various vector-based shapes.
Use Case: Frequently utilised in UI design mockups, social media posts, and infographics.
20. Hand Instrument (H)
Function: When zoomed in, it moves your canvas around.
Use Case: Quite helpful (pun intended) when doing intricate retouching.
21. Zoom Tool (Z)
Function: Zooms in or out on the canvas.
Use Case: Helps refine details like retouching eyes or adjusting small design elements.
Other Tools You Should Know
In web design, the Slice Tool (K) is used to divide layouts.
Measure Tool: Determines dimensions, angle, and distance (hidden under Eyedropper).
3D Tools: For more experienced users, these tools enable the creation and editing of 3D objects.
Advice for Getting the Most Out of Photoshop Tools
Discover shortcuts: For instance, hitting “B” instantly selects the Brush Tool.
Workspace customisation: Set up panels according to the requirements of your project.
Experiment frequently: using new tools on fictitious projects is the best way to learn.
Employ non-destructive editing techniques: To prevent irreversible errors, work with layers and masks.
Keep up to date: Adobe frequently adds new AI-powered tools to Photoshop, such as Generative Fill and Remove Background.
Final Thoughts
It takes time to become proficient with Adobe Photoshop’s tools and applications, but once you do, you’ll have a plethora of creative expression options. These tools, which range from simple cropping to sophisticated retouching, are made to make editing easy and polished.
Knowing these tools will give you the confidence to produce visually stunning projects, whether you want to improve your vacation photos or are an aspiring graphic designer.